Painting your home is one of the most accessible ways to transform its aesthetic, boost its market value, and protect its structural surfaces from everyday wear and tear. Because a fresh coat of paint seems straightforward, many homeowners view painting as a weekend DIY project. However, achieving a smooth, durable, and professional-grade finish involves far more than simply opening a can of paint and running a roller across a wall.
Without specialized knowledge, proper techniques, and the right equipment, DIY paint jobs often fall victim to frustrating errors. Mistakes like premature peeling, visible brush strokes, uneven color absorption, and unexpected mess can turn an exciting home improvement project into a costly cleanup.
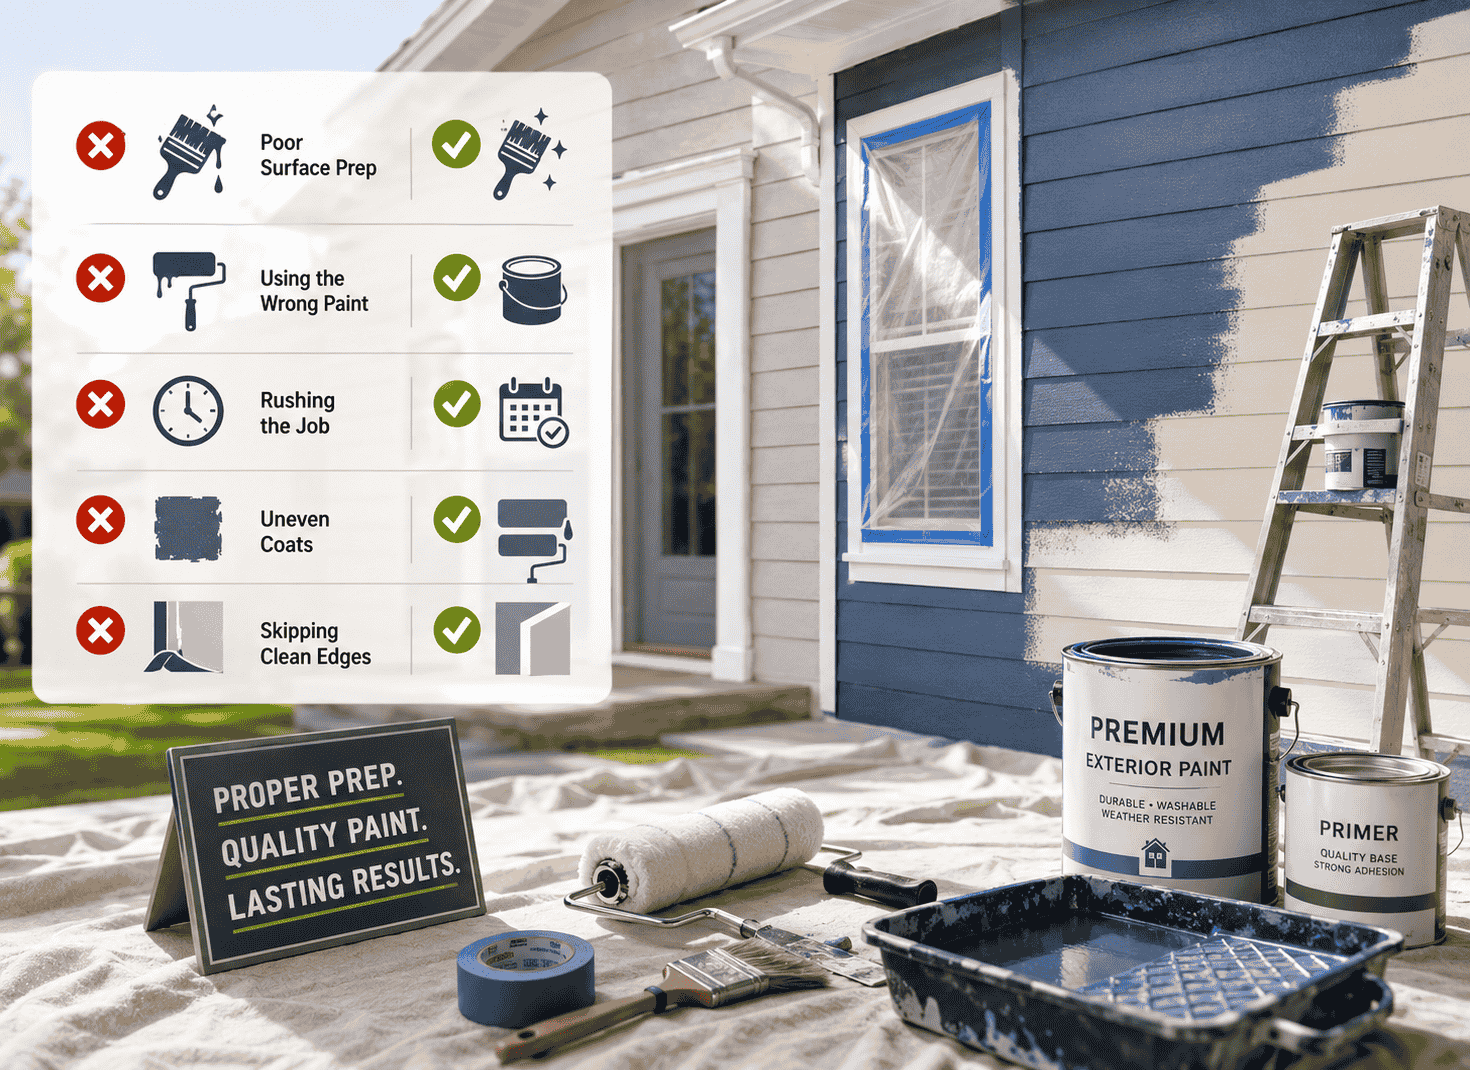
To help you protect your investment and secure a long-lasting result, here are 5 common house painting mistakes and the exact methods professional painters use to avoid them.
1. Skipping Proper Surface Preparation
The most frequent—and damaging—mistake in residential painting occurs before any paint is applied. Many homeowners jump straight to painting without thoroughly cleaning, sanding, or repairing the substrate. Paint is formulated to protect and color a surface, but it cannot adhere properly to dirt, skin oils, mildew, flaking paint, or smooth, glossy layers.
The Consequences
Applying new paint over dirty or damaged walls leads directly to poor adhesion. Within months, the new layer may begin to bubble, crack, or peel away in sheets. Furthermore, painting over nail holes, dents, or drywall seams guarantees that those imperfections remain visible under lighting.
How Professionals Avoid It
Professional contractors dedicate the vast majority of their project timeline to preparation. They execute a rigorous prep sequence tailored to the surface:
- Deep Cleaning: Washing interior surfaces with specialized solutions or TSP (Trisodium Phosphate) to strip away grease, dust, and grime. Exterior surfaces undergo controlled pressure washing to eliminate oxidation and mildew.
- Meticulous Repairs: Scraping away all loose, flaking paint down to a firm edge, filling cracks and nail holes with high-grade spackling or joint compound, and replacing rotted or damaged wood trim.
- Sanding and Scuffing: Sanding repaired areas smooth and scuff-sanding existing glossy surfaces (deglossation) to create a mechanical texture that allows fresh paint to form a tight bond.
2. Choosing the Wrong Paint Finish or Primer
Paint comes in a range of sheens—from flat/matte to high-gloss—and primers serve specific chemical functions. A common DIY misstep is selecting paint based solely on color while ignoring the technical properties of the sheen and the necessity of specialized primers.
The Consequences
Using a flat paint in a high-moisture bathroom or high-traffic kitchen results in walls that absorb water and stain easily, making them impossible to clean without scrubbing off the finish. Conversely, using a high-gloss paint on uneven drywall highlights every minor structural flaw. Skipping primer over bare drywall or raw wood leads to “flashing”—uneven, blotchy spots where the porous surface absorbs paint at varying rates.
How Professionals Avoid It
Experienced painters analyze the functional demands of every room before selecting materials:
- Strategic Sheen Selection: They utilize low-luster or eggshell finishes for living rooms and bedrooms to absorb light and mask minor wall flaws, while applying durable, moisture-resistant satin or semi-gloss finishes in kitchens, bathrooms, and along architectural trim.
- Targeted Priming: Professionals never rely blindly on “paint and primer in one” for challenging surfaces. They use dedicated stain-blocking primers over water damage, binding primers on chalky exterior surfaces, and penetrating primers on raw wood to seal the grain and establish a uniform base.
3. Painting Under Unfavorable Weather Conditions
Exterior painting requires favorable environmental conditions. Homeowners frequently attempt exterior paint projects on days that are either too cold, excessively hot, overly humid, or directly in the path of impending rain.
The Consequences
When paint is applied in direct, scorching sunlight, the surface layer skims over and dries rapidly before the underlying wet paint can bond with the substrate, causing lap marks, blistering, and early cracking. If applied in cold temperatures (below 10°C / 50°F) or extreme humidity, latex paint cannot cure correctly, leaving a tacky film that attracts dust and washes away under rain.
How Professionals Avoid It
Professional painters closely monitor weather forecasts, relative humidity levels, and ambient temperatures before opening a can of exterior paint. They follow these environmental protocols:
- Temperature Tracking: Working within the manufacturer’s specified temperature range, typically between 10°C and 32°C (50°F to 90°F).
- Following the Shade: Professional crews plan their workday around the movement of the sun, painting sections of the house as they move into the shade to prevent rapid surface drying.
- Drying Margins: Allowing at least 24 to 48 hours of clear weather following pressure washing and ensuring no rain is forecasted for 24 hours after application.
4. Poor Application Technique and Tool Selection
Inexperienced painters often buy cheap, all-purpose brushes and rollers, assuming all tools yield identical results. Additionally, improper loading of brushes and poor stroke technique leave behind noticeable application flaws.
The Consequences
Low-quality brushes shed bristles directly into the wet paint film, hold insufficient paint, and leave coarse brush marks. Inconsistent roller pressure creates uneven textures, thick ridges (known as “rope marks”), and visible overlapping bands called lap marks, where wet paint was rolled over an already dried edge.
How Professionals Avoid It
Craftsmen invest in commercial-grade tools tailored to specific coatings and substrates:
- Right Tool for the Job: They use high-density synthetic bristle brushes (nylon/polyester blends) for smooth latex application, natural bristles for oil-based products, and select roller naps strictly based on wall texture (e.g., short nap for smooth drywall, thick nap for textured stucco).
- Maintaining a Wet Edge: Professionals work quickly and systematically across a surface from corner to corner, maintaining a wet edge to seamlessly blend adjacent roller passes without creating lap marks.
- Multiple Thin Coats: Rather than trying to cover a dark wall in a single, heavy coat—which leads to runs, drips, and sagging—professionals apply two uniform, thin coats for optimal color depth and durability.
5. Inadequate Protection and Mess Management
Homeowners often underestimate how far paint splatters and fine mist can travel. Using thin plastic drop cloths, low-grade masking tape, or rushing through boundary masking almost always results in accidental paint damage to non-painted surfaces.
The Consequences
Standard tan masking tape allows wet paint to bleed underneath, leaving jagged, bleeding edges along baseboards and trim. Thin plastic drop cloths easily tear underfoot, shift around, and trap wet paint drips on top that get tracked across carpets and hardwood floors.
How Professionals Avoid It
Professional painters treat site protection as a core element of the job:
- Heavyweight Protection: They protect flooring using heavy-duty canvas drop cloths or rigid floor protection boards that absorb splatters, resist tearing, and stay anchored in place.
- Precision Taping: Professionals use high-performance painter’s tape designed for specific surfaces. They burnish (seal) the edges of the tape using a putty knife to guarantee crisp, sharp paint lines and remove the tape at a 45-degree angle while the final coat is still slightly damp.
- Hardware Removal: Instead of taping around light switch covers, outlet plates, door handles, and light fixtures, professional painters take the time to unscrew and remove hardware entirely, reinstalling it once the paint cures for a clean finish.
Achieve Lasting Results for Your Home
Painting your house is an investment that yields incredible aesthetic and structural returns when executed with precision. While tackling a room yourself may seem like a budget-friendly project, avoiding the technical pitfalls of surface prep, material selection, weather timing, and application requires significant time, equipment, and expertise.
Partnering with experienced professionals eliminates guesswork, saves valuable time, and delivers a flawless, long-lasting finish. Teams like those at allpainting.ca bring technical skill, high-grade tools, and structured preparation processes to every project, ensuring your home’s interior or exterior looks vibrant and stays protected for years to come.