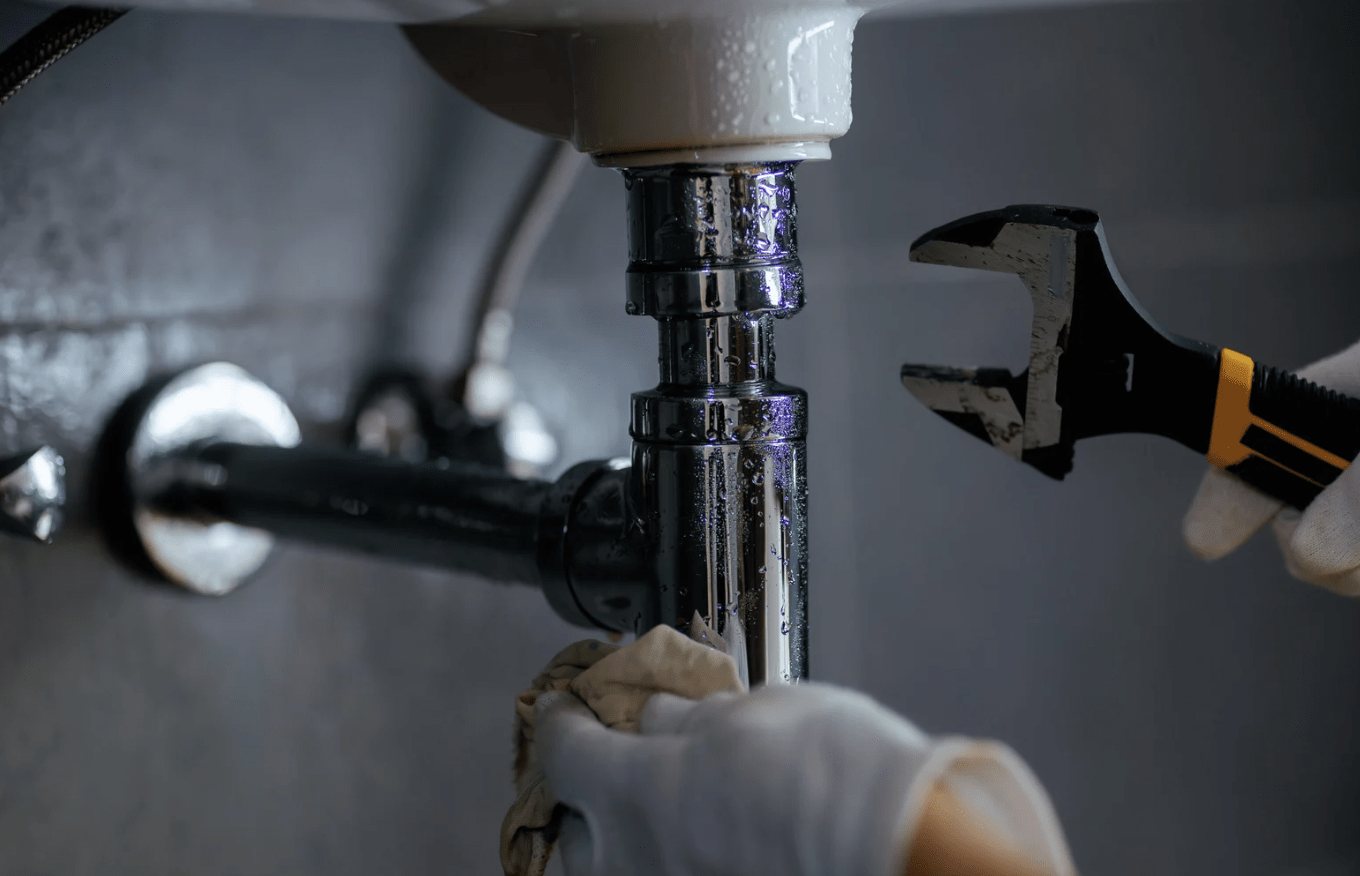
Home maintenance lists are long, and it is easy for plumbing to get deprioritized. The shower works, the sinks drain, and nothing is leaking, so you move on to the next item. The problem with that logic is that most plumbing problems develop slowly and invisibly until they reach a threshold and become an emergency. A little consistent attention prevents most of what generates a panicked call to a plumber.
Here is a straightforward annual maintenance checklist broken down by system, explained with enough context that you understand why each task matters and not just that you are supposed to do it.
Deferred plumbing maintenance can lead to leaks, pipe damage, and more expensive repairs over time. Homeowners looking to resolve existing issues or prevent future ones often turn to Defense Plumbing for Plumbing Services Arvada CO, with residential service available throughout Jefferson County and the surrounding metro area.
Flush the Water Heater
Once a year, flush your water heater tank to remove sediment. Colorado’s water is hard, meaning it contains significant mineral content that settles to the bottom of a tank over time. That sediment layer does two things you do not want: it insulates the heating element from the water (making the heater work harder and less efficiently), and it creates a breeding environment for bacteria.
Flushing is a straightforward process. Shut off the cold water inlet and the heater’s power or gas supply. Connect a garden hose to the drain valve at the base of the tank and run the other end to a floor drain or outside. Open the drain valve and let the tank drain until the water runs clear. Close everything and refill.
The whole process takes 20 to 30 minutes and meaningfully extends the life of the unit. A water heater that has been regularly flushed lasts longer and operates more efficiently than one that has never been touched.
Test Every Shutoff Valve in the House
Go through your home and locate every individual shutoff valve: under each sink, behind each toilet, next to the washing machine, and at the water heater. Turn each one off and back on.
This sounds overly simple, but it has a very practical purpose. Valves that have not been operated in years develop mineral deposits and corrosion that can make them impossible to turn when you actually need to shut off the water in an emergency. The 30 seconds it takes to exercise each valve annually is far better than the situation where you cannot shut off a leaking fixture because the valve is seized.
If you find a stiff valve, dripping after you operate it, or completely stuck, have it replaced. A seized shutoff valve under a kitchen sink is a minor inconvenience to fix in advance. It is a major problem when the faucet connection fails, and you cannot stop the flow.
Inspect Supply Lines on Fixtures and Appliances
The braided supply lines connecting shutoff valves to faucets, toilets, and dishwashers have a finite life, typically 5 to 8 years for the braided stainless variety, less for the older plastic type.
During your annual check, look at each supply line for kinking, bulging at the fittings, visible corrosion at the connection points, or any moisture staining on the cabinet floor below. Any of these signs warrants replacement before the line fails.
Supply line failures are one of the leading causes of interior water damage in homes because they fail while the water is under pressure and can release hundreds of gallons before the leak is discovered. Replacing a supply line that is past its expected life costs less than $20 and takes 10 minutes. The water damage claim might run into the thousands.
Clean All Drain Aerators and Showerheads
The aerators screwed onto the end of your faucet spouts accumulate mineral deposits from hard water over time, restricting water flow. Unscrew the aerator, soak it in white vinegar for 20 to 30 minutes, scrub with an old toothbrush, and replace. The flow that was noticeably diminished often returns to full strength after this simple cleaning.
Showerheads do the same thing. Remove the showerhead, soak it in vinegar overnight, and rinse. Alternatively, fill a plastic bag with vinegar and rubber-band it around the showerhead so the spray holes are submerged, leave it overnight, and run the shower to clear any remaining deposits.
This is especially relevant in Denver and the surrounding suburbs, where the municipal water supply carries enough hardness to cause visible scale buildup within months of a new fixture installation.
Check for Slow Drains Before They Become Blocked Drains
Run water in every sink, shower, and tub in the house and observe how quickly it drains. A drain that takes significantly longer than it used to is building toward a blockage. Catching it at the slow-drain stage is infinitely better than the complete blockage stage.
For bathroom drains, the culprit is almost always hair and soap scum. A simple drain snake or a purpose-made hair-pulling tool clears most bathroom clogs at the partial-blockage stage without chemical cleaners.
For kitchen drains, the issue is typically grease and food particle accumulation. Flush the drain with boiling water monthly. Pour dish soap down the drain first, then follow with boiling water to emulsify and move the grease buildup along.
If you have a drain that continues to drain slowly after you have cleared it at the fixture, or if multiple drains in the house are slow simultaneously, the blockage may be further down in the main line and warrants professional attention.
Inspect the Toilet for Silent Leaks
A toilet that is leaking from the flapper runs silently into the bowl. The tank continuously refills to replace the water escaping through the imperfect seal. You may notice the toilet occasionally filling briefly even though no one flushed it, but the leak can be subtle enough that you do not notice.
The quick test is the dye test. Drop a dye tablet (available at hardware stores) or a few drops of food coloring into the tank. Do not flush. Wait 15 minutes. If the color appears in the bowl, the flapper is not sealing, and the toilet is leaking. A flapper replacement costs about $10 and resolves most instances of this problem.
The EPA estimates that a leaking toilet can waste 200 gallons per day. At Denver Water rates, that is a meaningful amount of money leaving your household every month unnecessarily.
Walk the Perimeter and Check for Exterior Plumbing Issues
Once a year in early spring, walk around the exterior of your home and check the condition of outdoor hose bibs and any exposed plumbing.
Look for frost-free hose bibs that are dripping when closed, which usually indicates a worn internal washer. Look for any moisture staining on the exterior wall near an outdoor faucet, which may indicate a slow leak from the interior pipe connection.
Check that all outdoor hose bibs have their covers or insulating foam in place before winter returns.
Bottom Line
Annual plumbing maintenance is not dramatic. It is a few hours spread across the year, a handful of simple tasks, and consistent attention to the slow changes that indicate developing problems. The flush, the valve test, the supply line inspection, the aerator cleaning, the dye test, and the exterior check. None of these is difficult. Together, they prevent the emergencies that are both expensive and avoidable.